ContentsDesign a template
Design a template
Lay out your own spec sheet in the page designer, then assign it to tables so their records print with it.
Until a table has a template of its own, its spec sheets print in the built-in layout. Design one when the sheet should follow your own layout, with the fields you choose in your order. At the end, every record in the tables you assign prints with it.
How a template fills itself in
A template holds the layout, never the values. Each sheet fills its boxes from its own record:
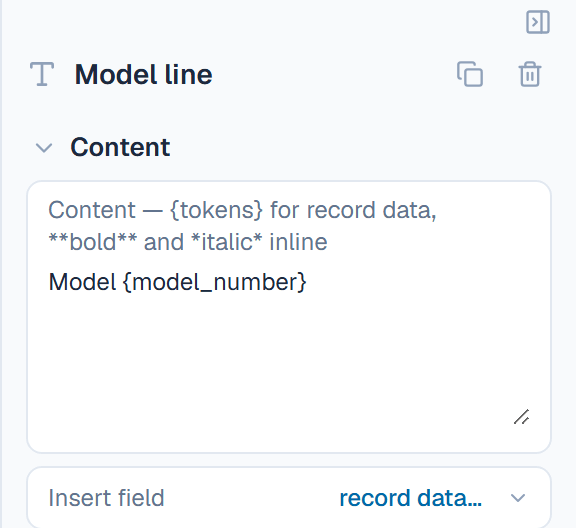
- A text box holds tokens in braces.
{name}prints the record's name, and a field's key, such as{bep_flow}, prints that field's value with its unit. - A Spec table, an Image, Curves and Documents fill themselves with the record's fields, photo, curves and files.
- A field above the sheet's visibility prints as nothing, so one template serves a Public sheet and an Internal one.
While you design, the page is drawn with a real record, so what you see is what prints. The toolbar's Preview as menu, English · Public at first, changes its language and visibility.
Before you start
- You need the Admin, Engineering or Marketing role.
- The table has at least one record, because the designer shows your layout with real data.
Create the template
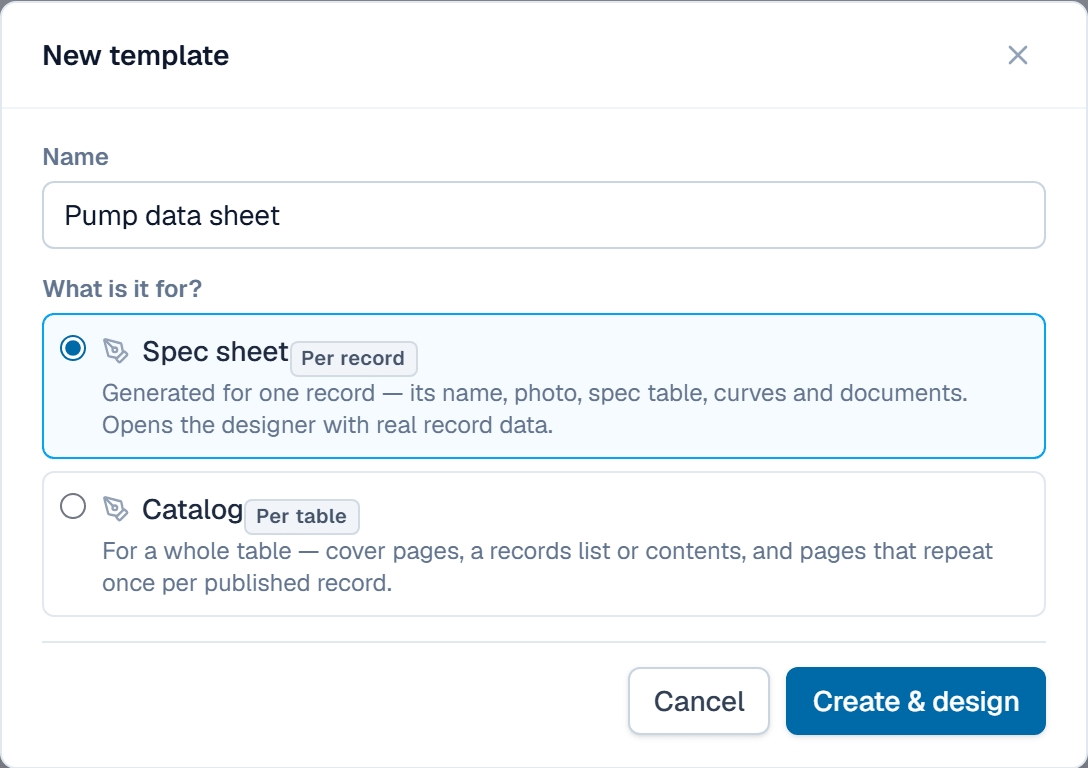
- In Settings, open Templates and click New template.
- Type a name, such as Pump data sheet.
- Under What is it for?, keep Spec sheet.
- Click Create & design. The designer opens on a starter page for you to reshape.
Lay out the page
On the left are the pages, the Insert menu and the layers. The inspector on the right edits the selected box.
- In the toolbar, click the record's name and pick a record from this template's table. Insert field lists its fields.
- Click Insert and pick an element, such as Text. It lands in a free spot, selected.
- Drag it into place. Its handles resize it.
- In the inspector, type the text under Content.
- To print a value, pick a field under Insert field. It goes in at the cursor as a token.
- Click Save.
Assign it to tables
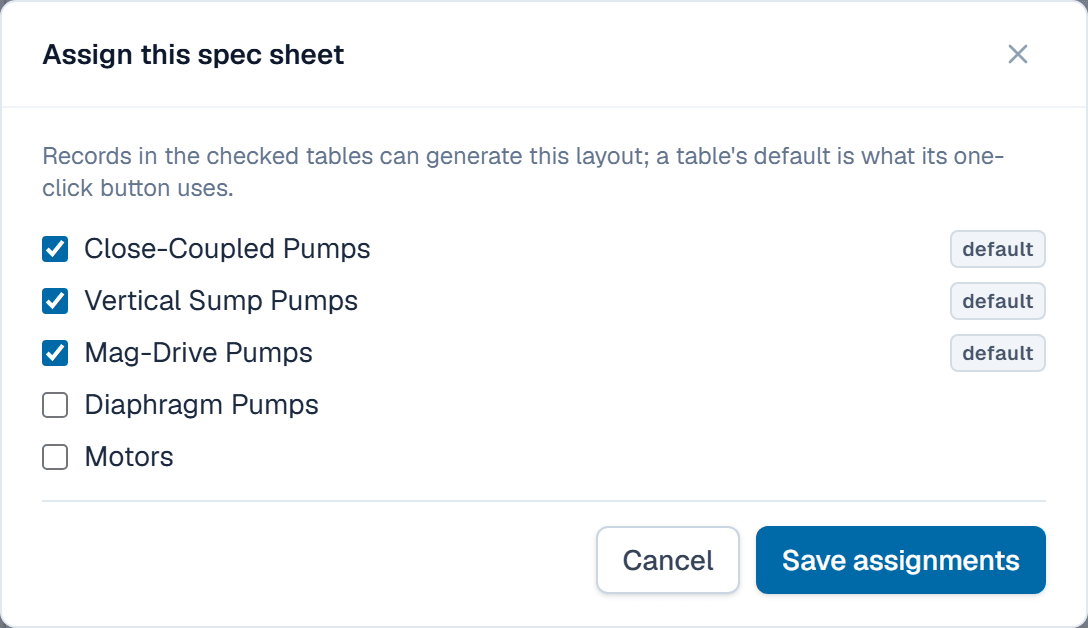
A record prints with a template only once its table offers it. A table can offer several; its default is used when nobody picks one.
- Click the ⋯ menu at the right of the toolbar, then Assign to tables….
- Tick each table whose records should print with it.
- Click Save assignments. A table with no spec sheet template yet makes this one its default.
- For a table that already had a default, open Assign to tables… again and click Make default.
What happens after
Records in assigned tables now print with your layout from their Spec sheet menu. Sheets generated earlier keep their old layout and aren't marked stale, so generate them again. History in the ⋯ menu rolls back to any of the last 20 saved versions.
Related
| How-to | Generate a spec sheet PDF |
| How-to | Print a catalog and set your branding |
| Concept | Documents & the designer |
| How-to | Set a field's confidentiality tier |